3 Steps to Self-Publishing your Custom Coloring Book

There are many ways people can distract themselves from their daily lives and place themselves into an alternate world of serenity that is distraction and problem free. Most commonly these are channels such as television, music, novels – and more recently, coloring books. In fact, adult coloring books have become so popular in recent years that the increased demand has actually created a shortage of colored pencils in some countries. This medium of relaxation has proven to not only be dedicated to children anymore.

There is a reason for this spike in popularity with adult coloring books – they are a fun, easy and inexpensive way to reduce stress and escape from daily aggravations. Some psychologists even recommend using coloring books as a de-stressor, citing that “the action involves both logic, by which we color forms, and creativity, when mixing and matching colors. This incorporates the areas of the cerebral cortex involved in vision and fine motor skills [coordination necessary to make small, precise movements]. The relaxation that it provides lowers the activity of the amygdala, a basic part of our brain involved in controlling emotion that is affected by stress.”

This form of structured creativity allows people to easily get in touch with their creative side. It can also be a collaborative experience for both an artist and their audience. Letting your audience finish coloring in your drawings can lead to an endless number of unique artistic variations. It is easier than ever to self publish your own coloring book, and to get your drawings in the hands of friends, family and fans. Here’s some quick tips for getting started with producing your own coloring books from sketches and drawings.

  1. Setting up your Drawings

    So you’ve created some beautiful illustrations, and now you’re ready to turn them into a book. The next step would be to make your drawings into digital files so that they can be reproduced for your book. There are a few ways to do this, the most popular being to scan or photograph the drawings. Many print shops will have large scanners that can import your drawings at 300 DPI (Dots Per Inch) resolution.

    Digital cameras have improved so much in quality that the resolution of a photographed drawing will often surpass that of a scan. The photograph may need to be cropped, straightened or color corrected, but will definitely work if a high resolution scanner is not available.

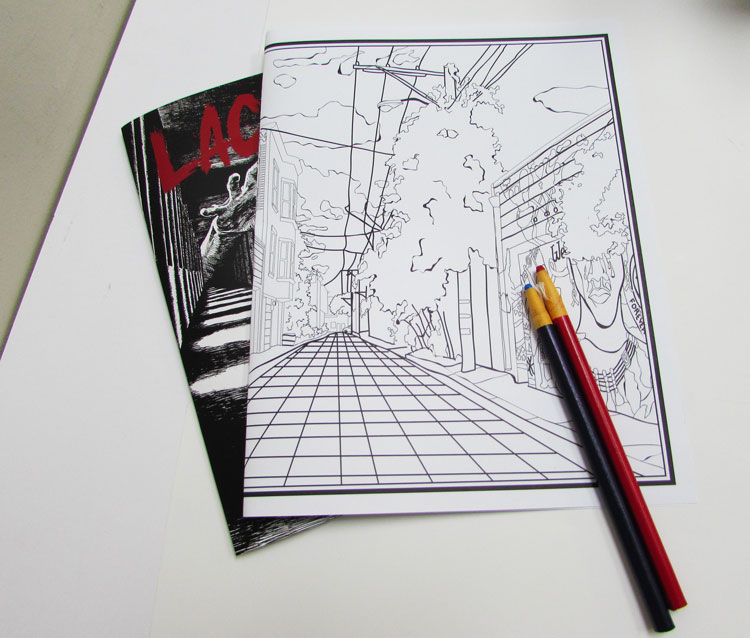
    Coloring Book and set of colored pencils on table |mmprint.com

  2. Choosing the Right Paper for your Coloring Book

    Some types of paper work better for different types of coloring books. There are two main styles of paper – coated and uncoated. Coated paper comes in either gloss or matte finish and should be used when you are expecting people to use colored markers or highlighters fill in your drawings.

    Uncoated Offset Paper is what is used more traditionally for coloring books. This opaque white paper is perfect for coloring in with crayons and colored pencils. It usually comes in different weights, such as 60lb, 70lb, or 80lb as well as variations of white, bright white, natural white or ivory.

    The cover of your book is also something to consider. Even if the inside pages are uncoated, a gloss cover can make the images and colors on the cover pop.

  3. Creating your PDF for Print

    When getting ready to print, you will need to supply your printer with a press ready PDF. This means that if your drawings extend to the edge of the paper, you will have to design an extra 1/8″ so that there is no accidental white space on the edge of the paper, and no valuable content accidentally gets cut off.

    When submitting your PDF, most printers prefer a PDF with individual pages setup in the order you want them printed.

    For more about design with bleed, check our InDesign Tutorial on how to properly set up your document.

Crops, Bleeds and Margins: a Brief Walkthrough for Designers

IMG_0933

Crops, Bleeds and Margins are three of the most important factors in setting up a design for print, but often go overlooked. These elements basically ensure that all images and text that extend to the edge of the page are not cut off, and that there are no white borders around the page from where it is cut.

Practically all of our print jobs are printed on sheets that are larger than the finished size, and then cut down to the actual size. This is what we call bleeds and allows for images and colors to be printed to the very edge of a page.

Crop marks are another very helpful piece to include in a design. These basically point to where the actual file will be cut. This tells the printer where to cut, and how much of the bleed to cut off.

Lastly, there are margins which define the live space of a printed piece. This area is a box inside of the page that is usually an 1/4″ from the edge of the page all around. The margins provide a safe area where all text and images should be so that they are not accidentally trimmed.

The best way to understand crops, bleeds and margins is to see it visually. Check out the video below that goes over all three elements and explains how to save a PDF properly for print:

Standard letter page in Adobe InDesign:

Business Card Setup in Adobe Illustrator:

You can read more in depth guides about designing for print in our info center or get a quote for your next print job at mmprint.com!

The Need to Bleed


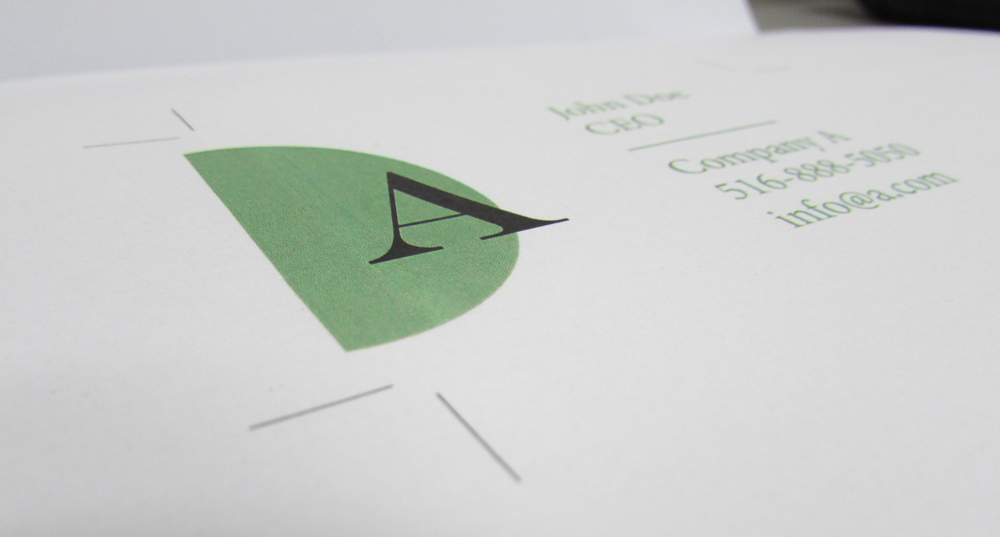
Bleeds and crop marks business cards
I recently asked my production manager and the graphic department manager here at Marsid M&M:

– What is the most common mistake that you find in artwork submitted by customers?
Answer: Missing Bleeds.

They also added that it is one of the biggest causes of delays in the customer receiving their order. It’s a fact that many businesses hire outside designers and when we contact the customer about the missing bleeds, it can take a matter of minutes to a matter of days to get the adjustments made by their designers.

Unfortunately our graphic department cannot always add the bleed because the file is not editable which is a whole other blog post (coming soon).
If we can add the bleed ourselves, we do it free of charge as a courtesy to our customers.

Bleed and Crop Marks

What is Bleed?

Some designs contain graphics or solid backgrounds that reach the edge of the paper as shown above. Printers require an additional stretch of these graphics or solid backgrounds, usually about 1/8th of an inch called a “Bleed” in order to guarantee the edges are not left without ink when the paper is cut.

Stack of paper showing bleed being cut

Quick tutorials: Adding bleed to your artwork

The easiest thing to do to prevent forgetting to add bleed is to simply make a bleed guide as the first thing you do when beginning a new design. Some professional design software makes this incredibly easy to do, some you have to do manually (still pretty easy).

Adobe Illustrator LogoAdobe Illustrator:

Illustrator offers one of the easiest and most convenient ways of adding bleeds to your documents from the start. In the “New Document” dialogue, under “Bleed” enter 0.125 in to any of the columns. If the link chain is selected already, then it will populate all 4 fields with 0.125 in automatically.

Add bleeds to an Adobe Illustrator Document


As you can see below, your bleed lines are added automatically. Shown as a red frame around the artbox…

Adobe Illustrator Bleeds


Adobe InDesign LogoAdobe InDesign:

In the “New Document” dialogue, make sure the “more options” button is pressed and at the bottom has a “Bleed and Slug” section. In the bleed box type 0.125 in and if the the link chain is selected it will automatically add it to the other 3 boxes.

Adding Bleeds in Adobe InDesign

Similar to Illustrator, InDesign automatically adds the red frame around the artbox as a guide for bleeds…

Adobe InDesign Bleeds

Adobe Photoshop LogoAdobe Photoshop:

In the “New” dialogue window, add 0.25 to the desired finish size. For example, if your designing a postcard that has a finish size of 5 x 7, then you would enter 5.25 x 7.25.

Add Bleed to Photoshop

Once you click OK, your empty canvas will appear and we will use the Rulers (View>Rulers) to use as guides to center our 5 x 7 within the 5.25 x 7.25 canvas and therefore make the bleed areas visible. Pull a guide from the ruler for each side of the canvas and drag it until it is 1/8th” inside the canvas from the edge.

Adding Bleed Guides in Photoshop

Photoshop Note:

We do not suggest using Photoshop for layout and typesetting of print projects. For best results use Photoshop for image manipulation and special effects. Import or place the image or object in Illustrator or InDesign for layout and typesetting.

Photoshop is a raster design program which uses grids of pixels to compose an object. Illustrator and InDesign create vector art which is composed of lines and curves or “Paths” to create objects and therefore create sharp edges and lines for both objects and text. Vector can also be scaled to extremely large sizes without losing quality.

Bookmark Worthy: Print-Ready Design Checklist

Use the checklist to double check that every requirement is already in your artwork to avoid any issues or delays!