
Ah, the business card. This humble little piece of cardstock is a networking powerhouse. It follows you in your pocket, on your desk, and to every tradeshow or networking event, you attend. A sleek business card is crucial to a great first and lasting impression for both clients and customers.
Sure, there are sites out there where you can build your own business card online. Most of them use template designs that stick out like a sore thumb among those who look at a lot of these little cards.
So, let’s make something custom. Something that is truly yours.
This tutorial will cover the basics of creating a simple business card in Photoshop using our business card template. If you already have a design, you can use this template to check that your important information is within the cut lines and that your bleeds extend to the bleed line.
If you don’t have a design, well, let’s create one.
Getting started
So, to begin, open the PDF version of our business card template in Photoshop.
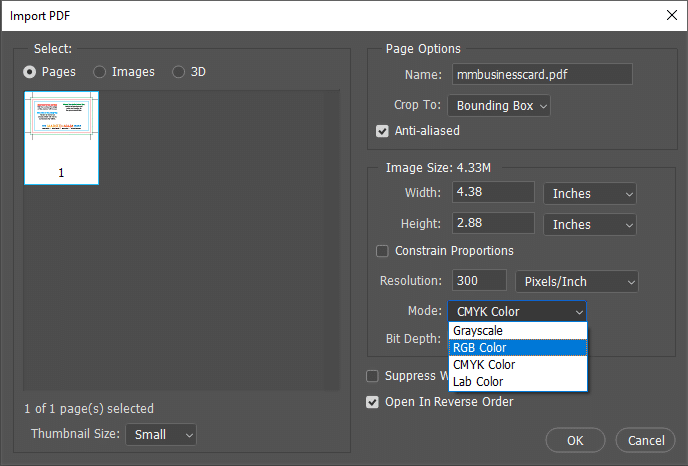
The default settings will be fine. The only thing you’ll want to pay attention to is the “Mode” dropdown. If you’re intending to print a lot of cards, most likely you’ll be printing them on an offset press. If that’s the case, select CMYK color. If you’re only printing a few cards, you’ll most likely print them on a digital press. Digital presses also use the CMYK color model and ink although some may use RGB. If you’re unsure, it’s best to call the print shop and check. MMPrint.com uses the CMYK model for both digital and offset printing.
If you get it wrong, it’s OK, you can convert to the other color space, but since the colors aren’t exact, you’ll sometimes see a tonal shift.
For this tutorial, we’ll use CMYK.
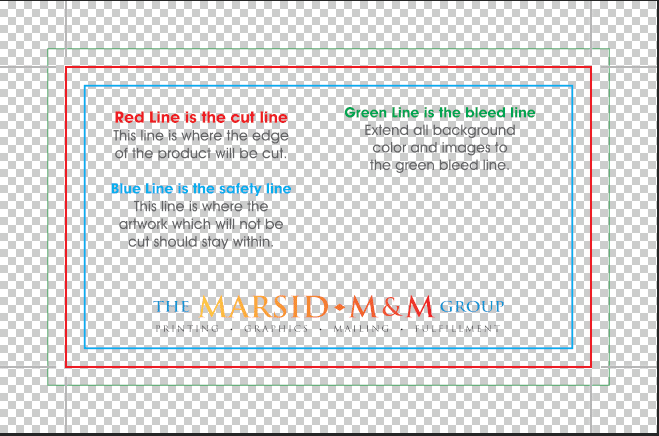
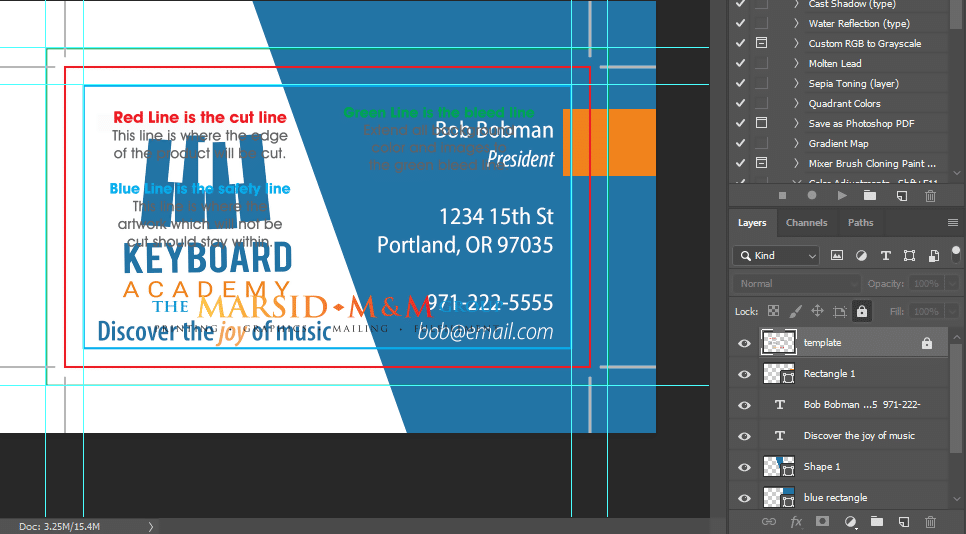
This is what you’ll see once you open the file. Let’s look at the three boxes on this guide.
Red: This is the cut line. It is the main outline of your finished card.
Blue: Safety line. All logos, text, and important artwork must fall within this line. Why? Well, paper cutting isn’t always exact. This ensures that your important information doesn’t get cut off when the card is trimmed.
Green: Bleed line. If you want a color or picture to go all the way to the edge of the card, it must extend to this bleed line.
How to design a business card
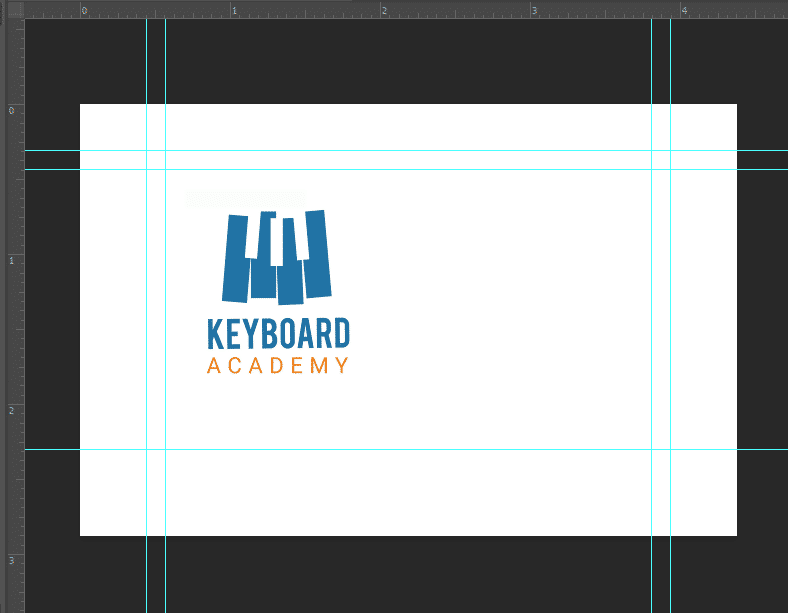
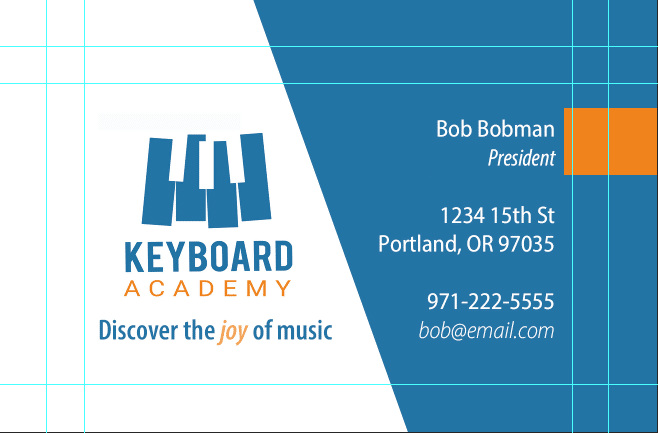
This is the card that we will build today:

It’s a simple design that would work for a variety of businesses. Once you understand how to import text and add shapes, it unlocks a whole world of design possibilities for your business cards. So, let’s break down the process.
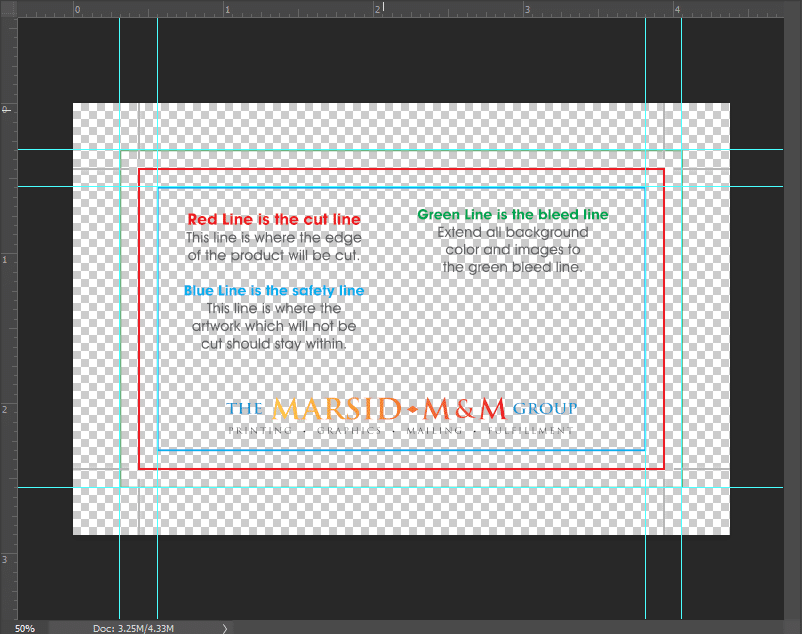
To start, let’s lay down some guides. This will help us when we have graphics and shapes covering up the template. Click and drag from the top ruler to the top trim line and then release the mouse. As you drag, a blue line will appear and come to rest where you release. If you need to adjust its placement, press V to activate the Move tool. Then, click and drag the blue line and drop it in place.
 Once you have the top trim line marked, go ahead and mark the left, right, and bottom trim lines. Then, mark the top, bottom, left, and right safety lines.
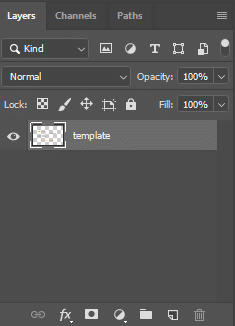
Go to your layers panel. If it isn’t open, you can press F7 to bring it up. First, rename the layer with the template on it to “template.” Then, click the eyeball to the left of the name to turn the layer off.
Next, press Shft+Ctrl+N (Windows) / Shft+Cmd+N (Mac) to create a new layer. This will be the layer we work with.
Let’s give this layer a background color. With the new layer selected, press Shft+F5 to open the Fill panel.
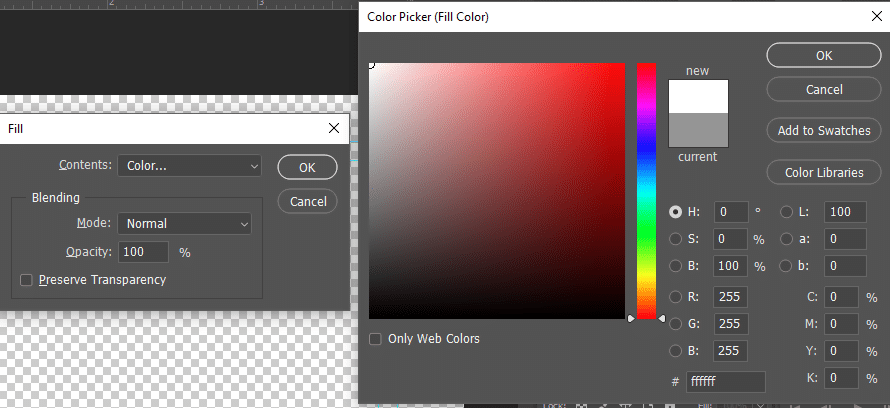
Change the Contents setting to “Color,” then select #FFFFFF or pull the color picker all the way to white and click OK. Click OK one more time and your layer will turn white.
Now, let’s put on a logo.
Go to File->Place Embedded and find the logo you’d place to put on the business card. A vector logo is preferred here, but a picture file logo (like PNG or JPG) can work if it as high quality and high resolution. Basically, you want your logo not to have any distortion and to be as big of a photo as possible.
Drag your logo into position. The small boxes on the corners of the bounding box can scale the image larger or smaller if you click and drag them.
Make sure that your logo is not only inside of the trim and safety lines but that it has just a little bit of breathing room from that edge. The reason being, if a trim does come close to the safety line, it can make the space feel tight if your logo is too close to the safety line.
Now, let’s add a little flare to the white background.
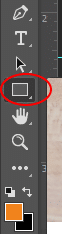
Let’s open the Rectangle Shape tool. It’s located on your tool sidebar.
At the top of your screen, let’s set the fill settings. Set the fill to #2274a6 and turn the stroke off by typing 0 in the line width box.
![]()
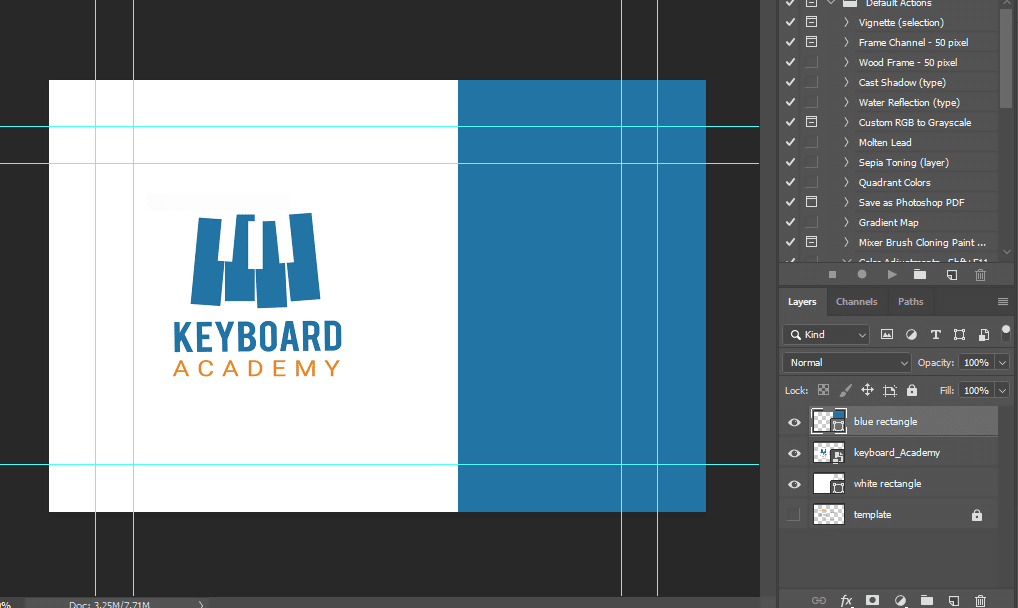
Now, draw a large rectangle by clicking and dragging over the right 1/3 of the card and extend it all the way to the top, bottom, and right side.
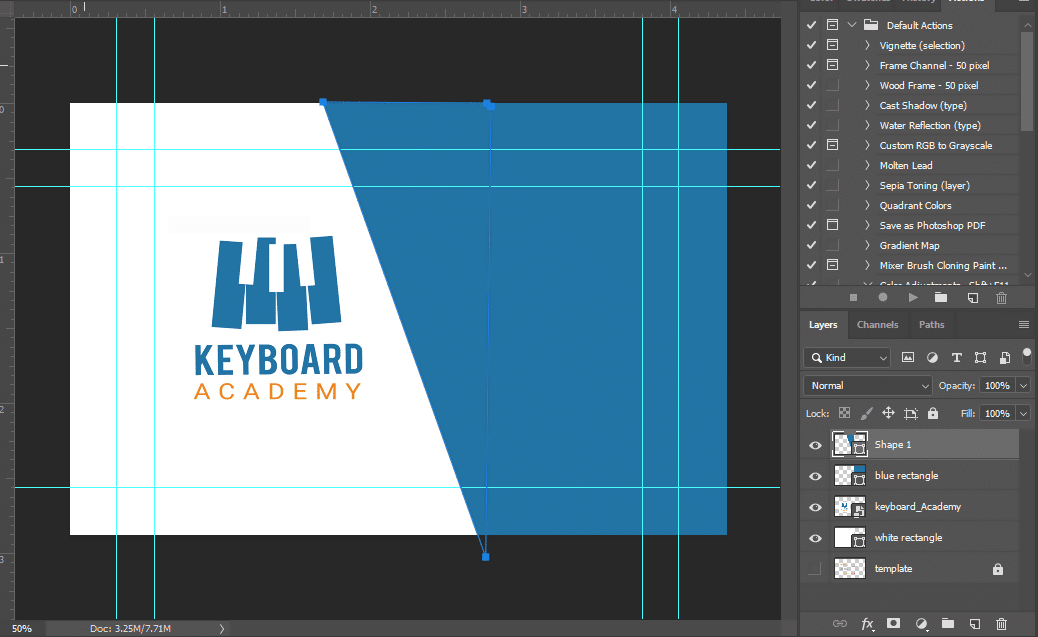
Next, press P to activate the pen tool. The pen tool lets you draw lines using anchor points. Set your first anchor point 3.5 in from the left side of the card, starting at the very top of your artboard. Then, draw a diagonal line down to the bottom. Finally, close up any white space by finishing the triangle at the top.
![]()
At the top of the screen, click the Shape button in your path options. This will create a triangle shape. When you’re finished, it should look like this:
Let’s add our text now.
Press T to activate the Text tool. If you don’t see the Character panel, go to Window->Character to activate it.
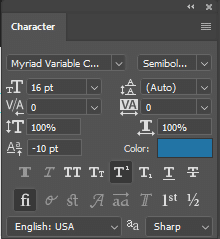
For this design, we used Myriad Variable Condensed. You can use any font you want to, just keep legibility in mind. A simple, sans-serif or serif font will look much nicer than a novelty font.
Use the Character panel to control your text. The top two boxes are for your font selection—the first selects Font Family, and the second selects the font type, so bold, italic, regular, condensed, etc. Your selection in this panel will depend on what your font comes with.
Below the Font Family box is your font size. Next to it is your line-height, which should be set to auto unless you’re going to adjust leading yourself.
Under font size is kerning, or the space between two letters. To the right is letter spacing or the space between ALL letters.
Then, we have letter height and letter width. Finally, we have the height for subscript and your font color.
Whew, that’s a lot of options!
For this tutorial, let’s start by writing our tagline, “Discover the joy of music” under the logo in our same blue color from before. For Myriad Variable Condensed, Semibold Condensed, the font size should be 16pt.

Now, to change the “joy” part to a different color and font, use your mouse to highlight only that word. Go back to the Character panel and click Color, then enter #ef811c. Finally, go to the top of the character panel and in the drop-down next to font family, find the italic variation. For this version, we used Semibold Italic.
Now, all that’s left is to add your contact information.
Press T to activate the text tool, then click on the right-hand side of the card in the blue box area.
Using the same font as before, Semibold Condensed, let’s add text. This text will be a little smaller, at 14pt. Using the same technique as before, make the job title and email address italic.

It really looks like a card now! Let’s add one final flourish and call it a day.
Go back to the shape tool and activate the Rectangle again. This time, color it #ef811c. Draw a rectangle from the edge near the person’s name and title and extend it off the card, like this:
How to check your file
It looks great! Let’s just check and make sure everything is in the template. Go to the Layers panel and drag the Template layer to the top. Then, click the eyeball next to it to turn the template on.
Double-check that all important information and elements are inside the trim line.
If they are great! Turn that layer off.
Now, let’s save.
Go to File>Save As… and first, save a version as a Photoshop file (PSD). You’ll want this if you ever want to make changes or make alternate versions.
Then, go to File>Save as… and save it as a PDF. This is the version you will send to the print shop. Save it as High Quality Print, and you’re done.
That’s all there is to it!
Okay, making your own business cards can be a lot of work, but your company’s brand is crucial to your networking success. If you don’t think you can handle making a card on your own, that’s ok! Our expert designers are on-hand to create the perfect card for your company.
Leave a Reply